
This website currently includes two discussion forums, one for general discussion about flies and one called learn about flies that is for seeking help with identifications or other advice.
All visitors to our website can view the forums, but to post messages into the forums you need to sign in, and to do that you need to be a member of Dipterists Forum.
Instructions for adding new forum posts
1. Go to the forum that you wish to contribute to.
2. Click on the green button to "Add new forum topic".

3. Type in the subject or heading for your post (required).
4. At this point you can change your choice of which forum to post into, but in most cases you can leave this as it is.
5. Type your message into the main box headed "Body". Images can also be added here, see below.
Recommended method for adding images
The easiest way to add images is to use the "IMAGE" section underneath the "Body" text area:
1. First of all, in the "Body" text box, press enter to create a new blank line where you want the picture to appear.
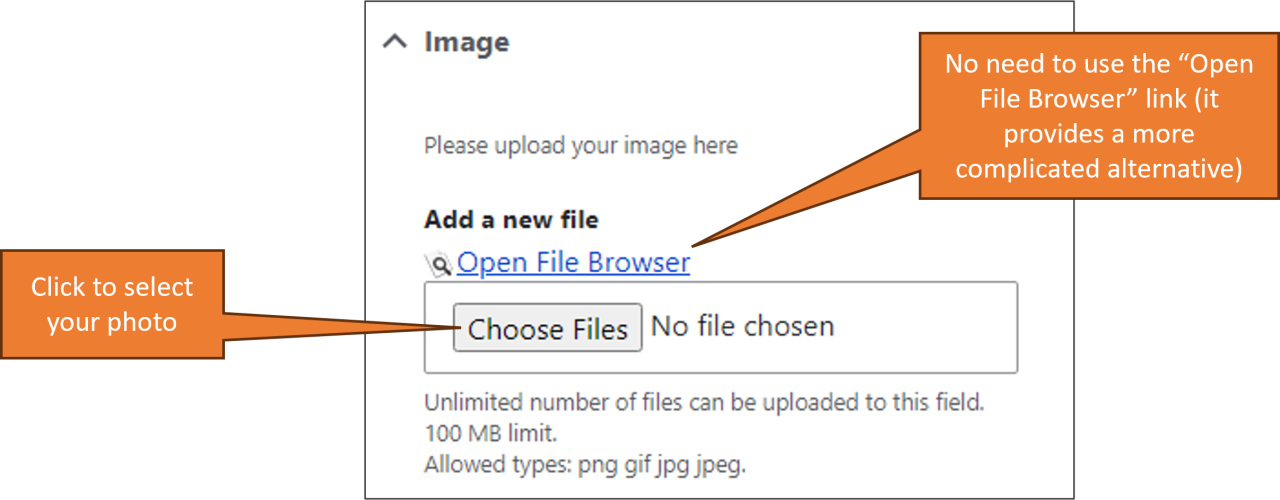
2. Scroll down and click on "Choose Files" to select the image file that you wish to add from your computer (don't use the "Open File Browser" link):
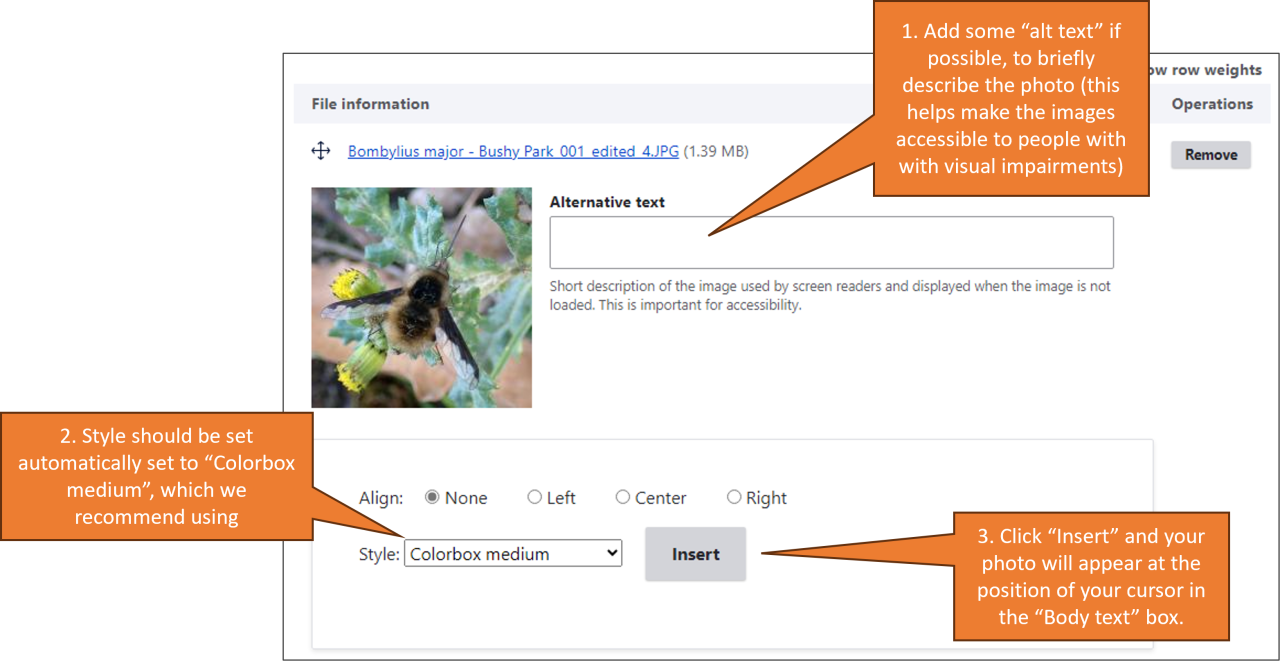
3. If you wish, you can add an optional "Title" that will appear if someone puts their mouse cursor over the image.
4. The "Style" setting will automatically be set to "Colorbox medium", which adds a medium-sized thumbnail image to your post (once posted, the thumbnail image can be clicked on to open up the full size image). We recommend using this setting for all posts, but if needed you can choose another option.
5. If you want to add more than one image just repeat the "Choose Files" operation as many times as needed. It is best to add a space or a line break between consecutive photos.
6. Remember to click "Save" once your forum post and images are ready.
If you are adding a reply to an existing forum post you should see a similar "Choose file" button that allows you to add images to any replies.
We suggest that you do not use the "AUTOMATIC" or "Original image" style options when adding photos, as this do not display well.